

Roof Boards

The insulation for the roof is going on top of the roof structure so the the roof boards will be exposed to the inside of the house. The first crack at putting the roof boards up didn’t go well. I started on the bottom row lining the boards up with the end of the rafters. I quickly realized that the rafter ends were not perfectly straight since the boards were not fitting together very well. We ended up tearing that row off and creating a chalk line that was measured down from the ridge board. After lining the boards up with this chalk line they fit together nicely.


Our system for installing the roof boards has been for me to make the measurement for the next board, call down the measurement to Royall, she then makes the cut and passes the board up to me and I nail it into place.


Before the roof boards get too far up the rafters we installed the metal rafter ties. In high winds there is a risk of the rafters separating from the ridge board due to uplift forces. The usual way to deal with these forces is to install wood collar ties that tie the rafters together but this takes up space at the top an we wanted to keep as much headroom as possible. The alternative is to install metal ties on top of the opposing rafters to tie them together. After the roof boards are on you won’t know they are there and the headroom is preserved.


We are also working on finishing up the sheathing that is going on the shed dormer. Sheathing the walls is pretty satisfying as you get to see the stick framing turn into a wall. Our five year old calls it “filling in the holes”.

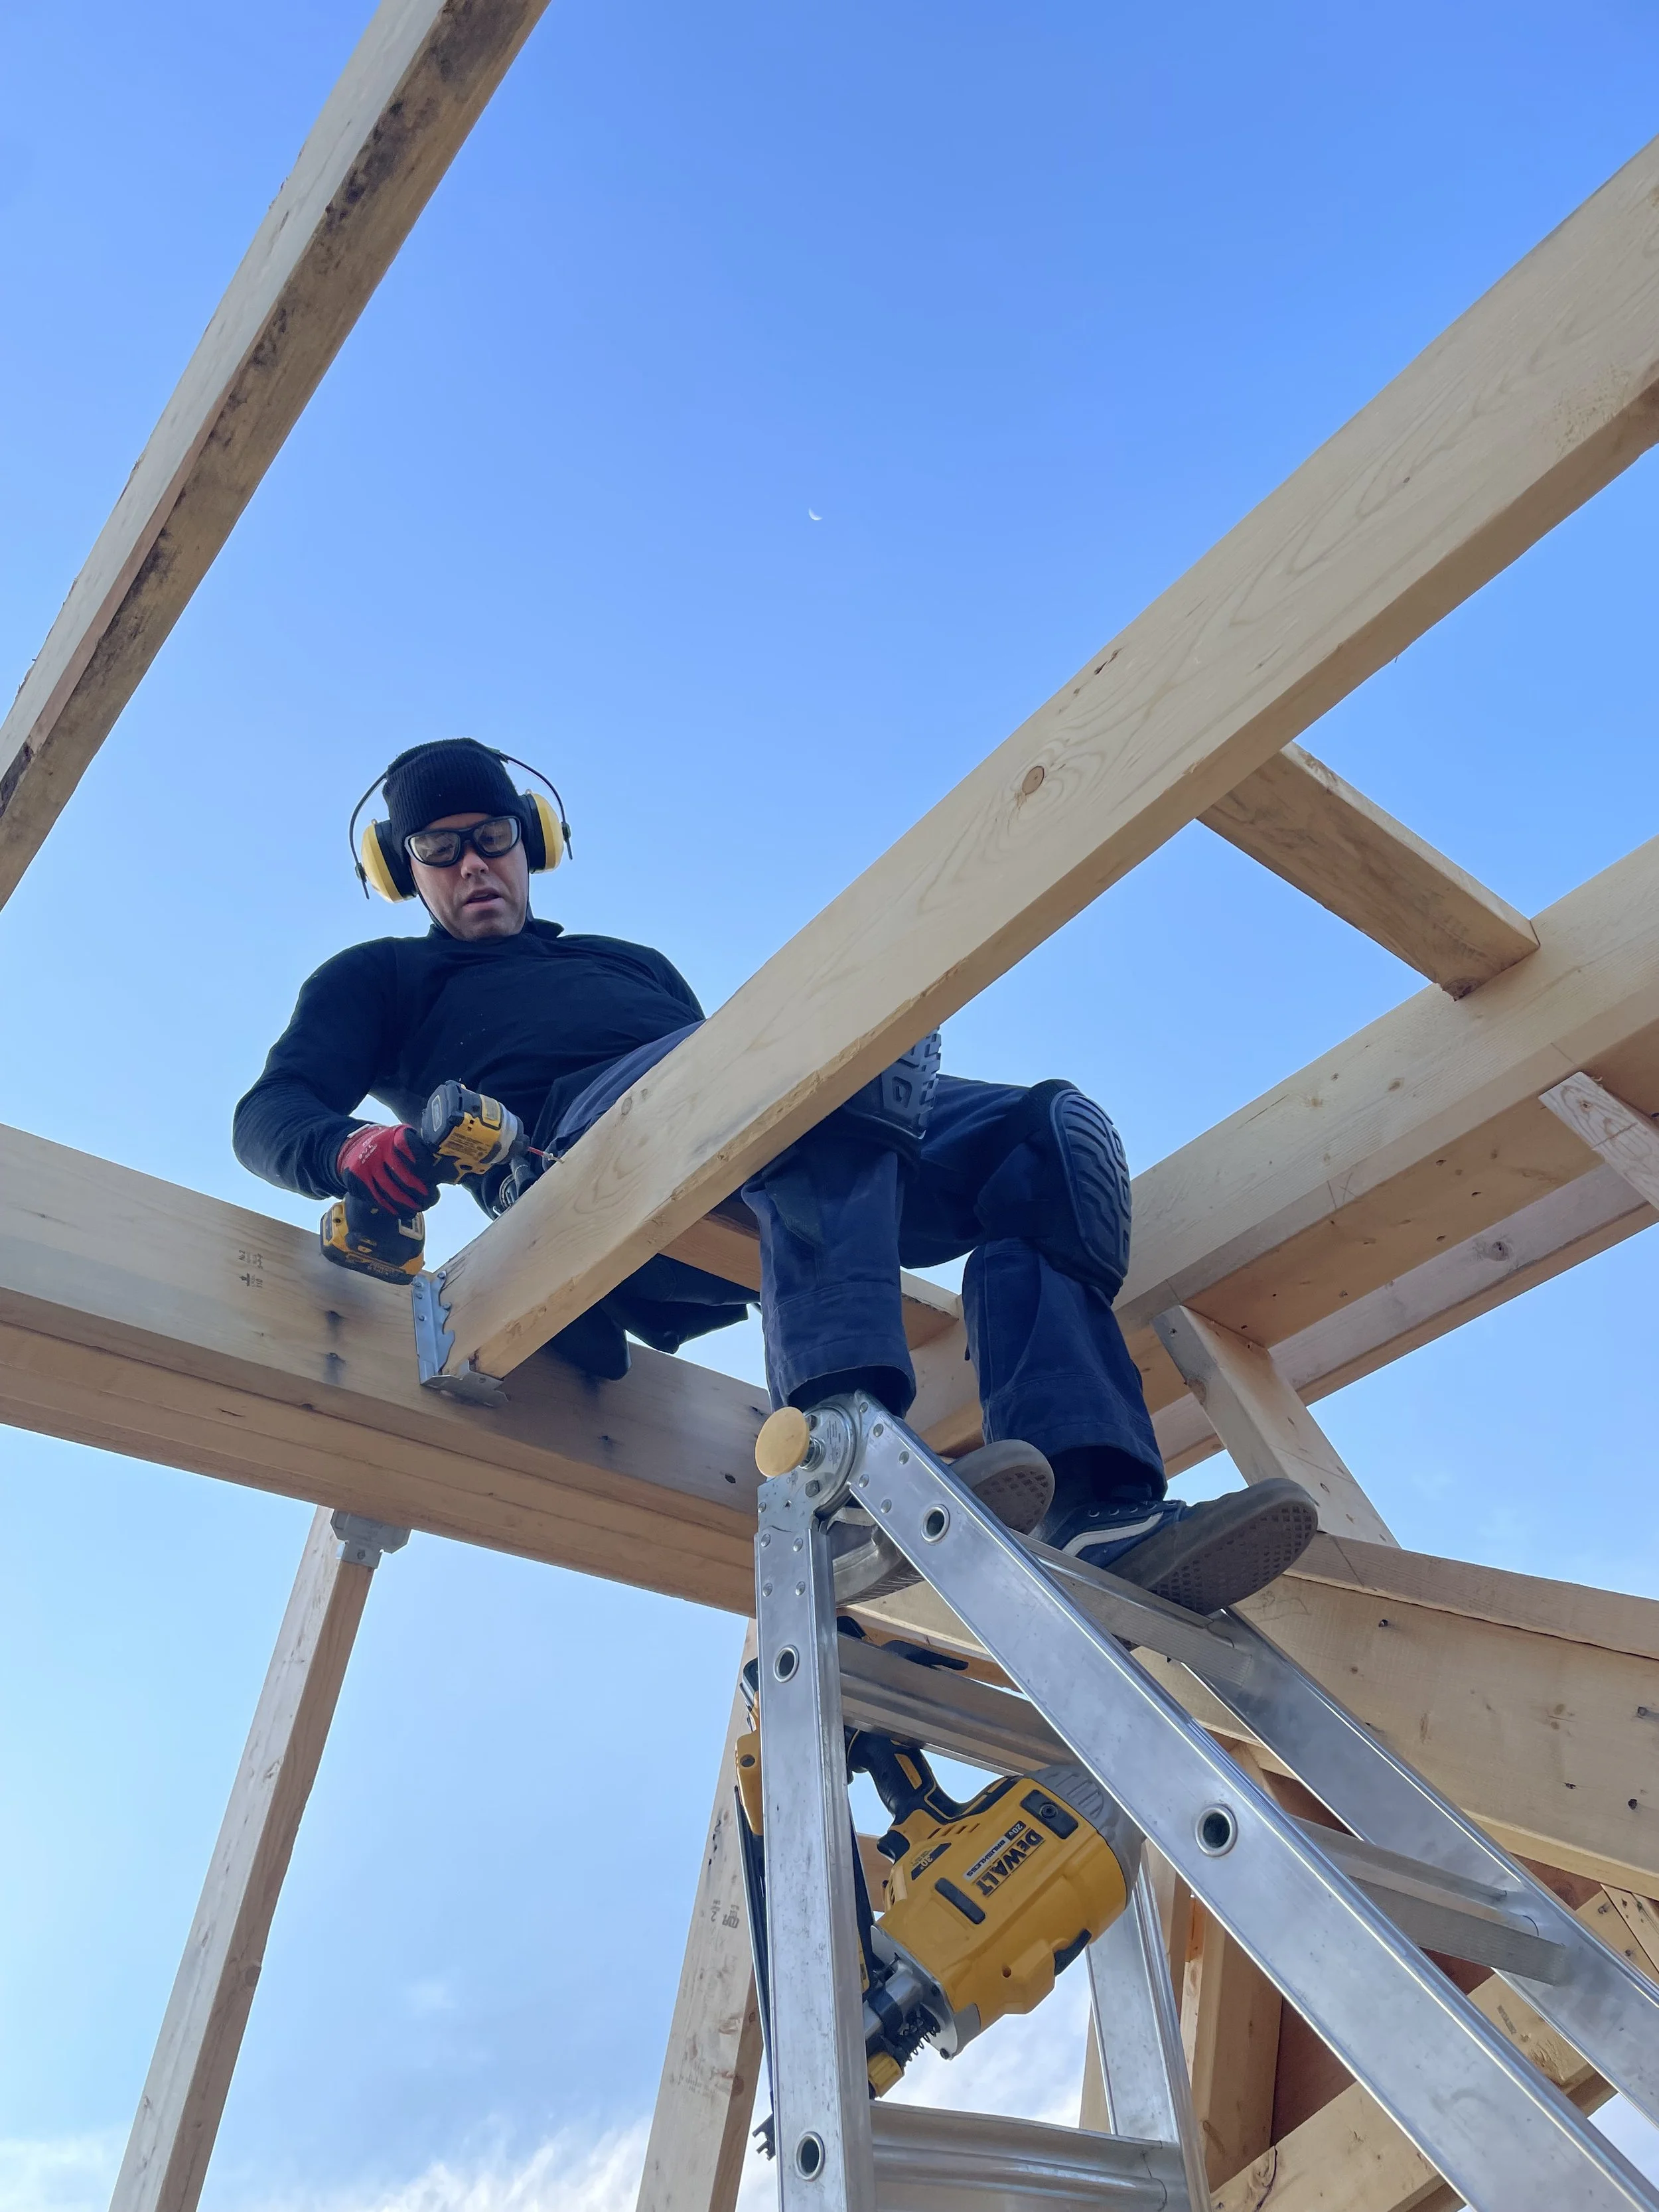
Sometimes you have to sit on a board to get it to cooperate.

Think…think…think…


We woke up to snow in the mountains a couple days ago. As much as I love snow, hopefully it doesn’t get too close for a little bit longer. Time to get that roof on!
